

Handbags come in an endless variety of shapes, sizes and features. That is also true of handbag patterns and tutorials. Even with many free tutorials and patterns available online, it can be challenging to find just what you are looking for. Adapting patterns to create bags with the features you want can be fun and rewarding,.....and, a little like solving puzzles. Perhaps that is why I never tire of making bags.
Personally, I am drawn to bags with pockets, inside and out, and with a wide opening so items are easily retrieved from the bottom of the bag. I also like zipper closures, especially for bags I use for travel. I just completed six new bags. In this post, I focus on a few things I learned while making these bags, including adapting features and recovering from unexpected results! I used new products and altered techniques found in several online tutorials. Although the bags are the same size and have similar features, each one went together a little differently. Read on to see what I mean.
The Design
I started with basic requirements:- finished size about 10 x 11
- shaped with a two inch flat bottom to provide a little more room
- one interior pocket and at least one exterior pocket
- an area of fabric that could be used for a thread sketch
- adjustable, removable strap
Size and Shape
Although I use a rotary cutter to make most cuts, I still like to cut a pattern from freezer paper. It makes it easier to position and visualize pockets and art features. I also make notes on the freezer paper so I can remember what I have done.
For this bag, I used two small leaf designs, drawn and stitched using my normal "sketch-pad-to-fabric" process. The lining pieces (not shown) were cut to the same dimensions. The exterior has one zippered pocket. On the side without the zipper, the contrasting fabric serves as a pocket.
Mistake to Feature

I searched YouTube for a good recessed zipper tutorial. My favorite was posted by Carole's Cricut Crafts. I modified her instructions to suit my smaller bag by shortening the length of zipper on each side of the bag. However, this kept the zipper from fitting properly inside the bag. Also, the zipper and panels took up valuable room inside the small bag.

This first bag had a pocket on the front, but no external zippered pocket. Onward!
Zippered Pockets
It was back to YouTube to find a good tutorial for external zippered pocket. Sara Lawson on YouTube Sew Sweetness Channel has a tutorial on how to add a zippered pocket to any bag. Her instructions are easy to follow and adapt to any size bag. With only a slight modification to pocket size, I followed the Sew Sweetness tutorial with success!

Now would be a good time to talk about zippers. I never seemed to have the right zipper color or size for my projects....until I found the Zipper Lady. I purchased zippers by the yard in a number of colors and styles. I could not be happier. I cut the zippers to the exact length I need eliminating waste and saving money. In addition, her selection of high quality zippers and pulls is almost overwhelming. This picture may not display the beautiful zipper details. It is a 5mm shiny silver nylon coil. It looks like metal, but cuts and sews beautifully.
Exterior Pockets Without Zippers
For most of these bags, I decorated an external pocket with a thread sketch. To keep it interesting, I tried a few pocket shapes and styles,,,,not with equal success.

I thought it would add interest to have the lower part of the Fremont Bridge thread sketch disappear below the curved pocket edge. To create the edge, I cut the desired shape and auditioned it over the thread sketch.

I positioned the pattern on top of the pocket fabric. The folded edge of bias-cut trim was shaped along the edge of the pattern.

Bias trim stitched in place.


Outside pocket fabric with bias trim and the lining fabric were placed right sides together. The layers were sewn together by stitching on top of the the bias trim stitch line. Cut away the top part and flip the lining to the backside. It takes a little easing and light pressing to make it lie flat.

In the end, I did not use this pocket as prepared. I liked the look, but it was too bulky. I replaced it with a another pocket with a lighter-weight lining and eliminated the bias trim. Bulk is an issue for discussion at another time.

This scoop shape pocket was created similarly to the bridge bag pocket. The lightweight fabric used for the thread sketch was padded with fusible batting to help maintain shape and provide a little padding to protect items inside the bag.
Stitching Small Pieces

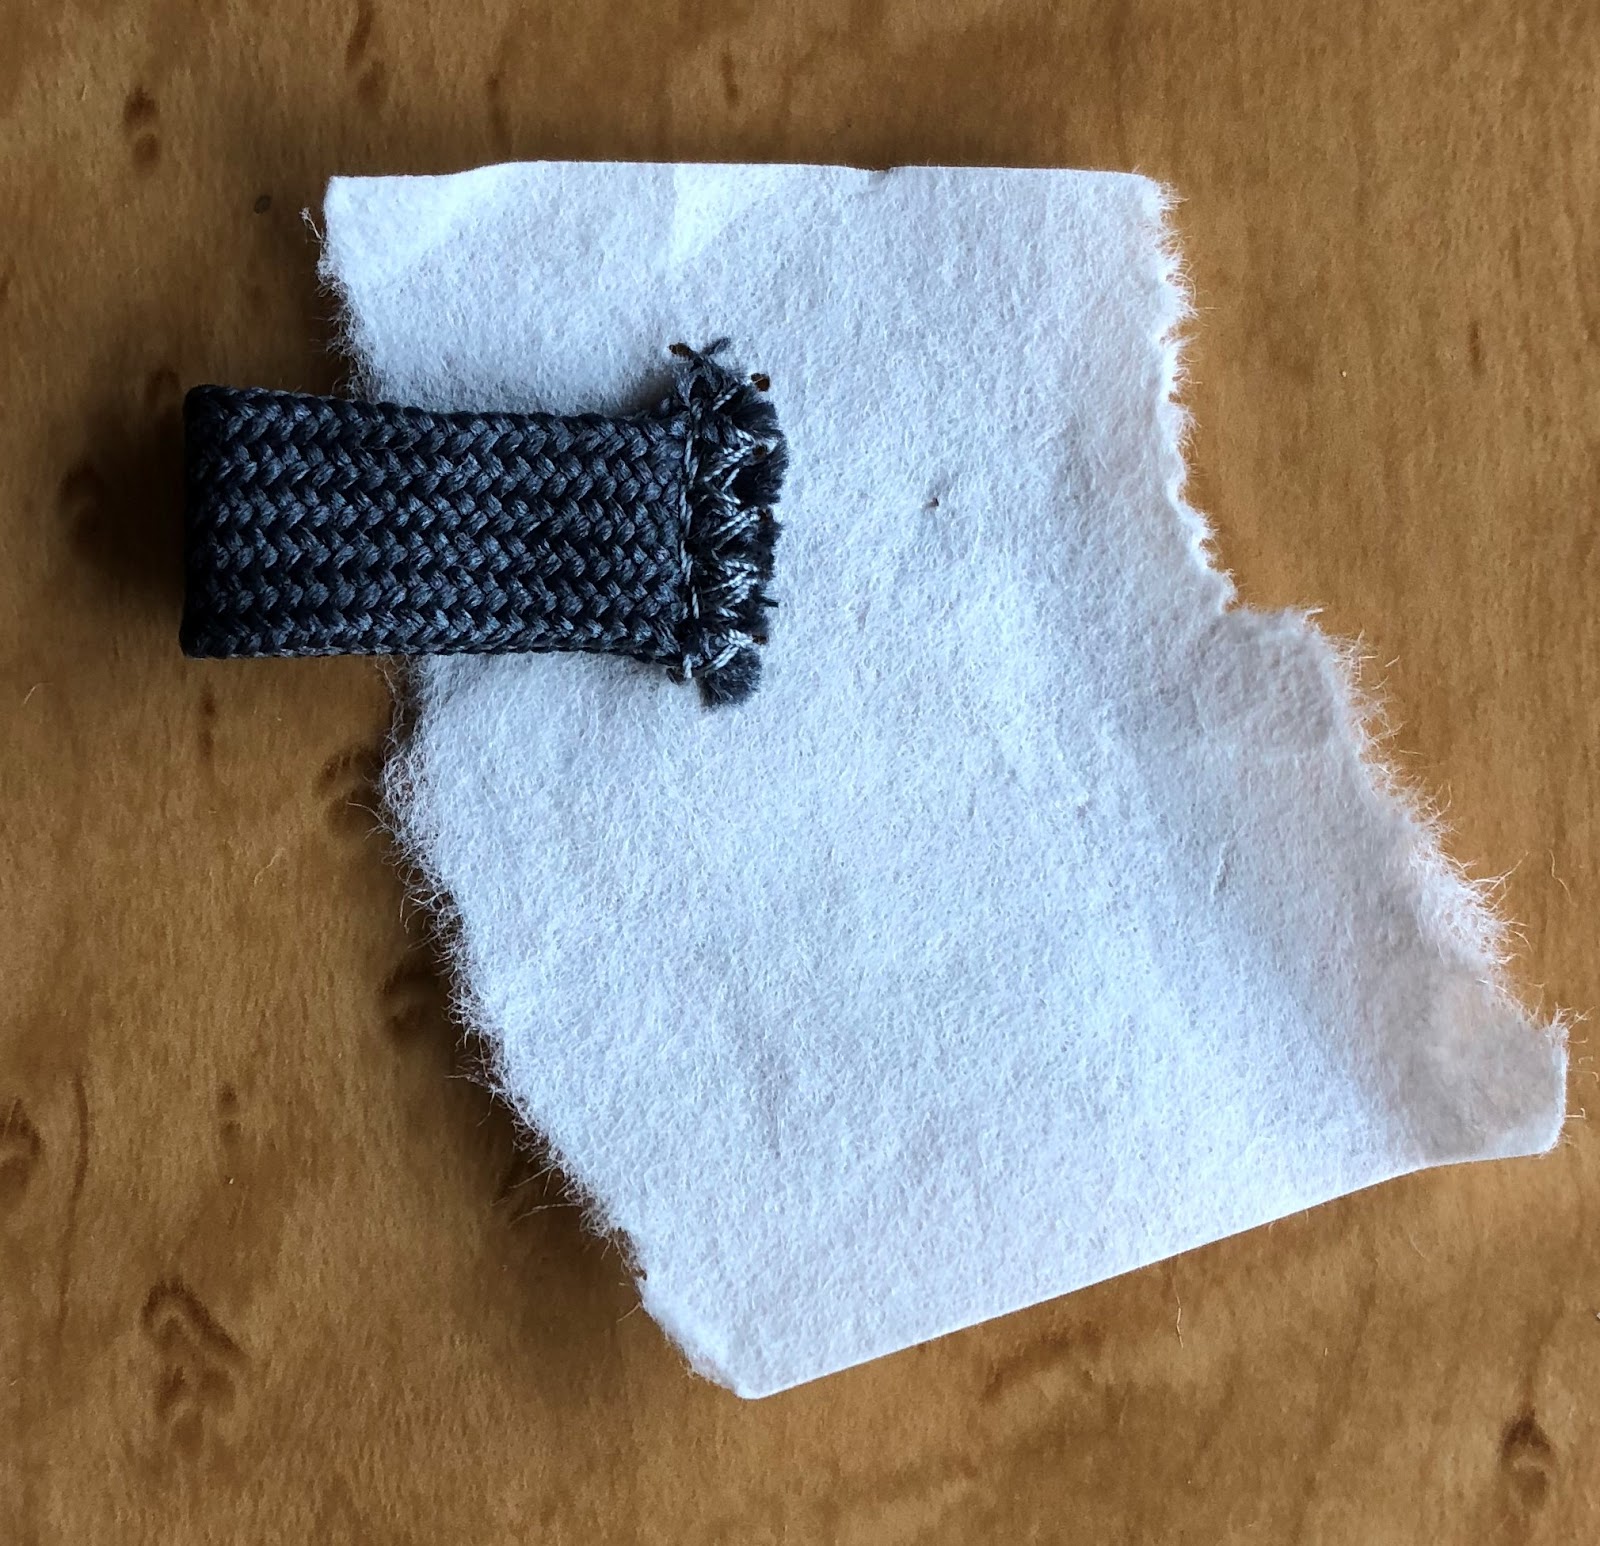
Before sewing all the parts together, you need to consider how the strap will be attached. I use several methods, depending on the size and type bag. I often use small loops instead of metal rings to attach the strap. Very small fabric pieces can be difficult to stitch. Using tear-away stabilizer helps move them through the machine without bunching or slipping.
Putting It All Together

I mentioned earlier that all six of these bags went together a little differently. Each method had pros and cons. The jury is still out, but I think my favorite method is explained best online at Sew Modern Bags. The Koda bag in the tutorial is different than my bag, but has a lot of good features. The instructions had to be modified somewhat because of the zipper panels, but the result was clean and professional looking.


Three photos at the same point in construction. Above, the lining, exterior bag, and zipper panels are layered and ready to sew together. Below, looking closely at the exterior, you can see the small gray loops at the seam line where the strap will attach with swivel clasps.

For these bags, I purchased hardware online at Bag Maker Supply Etsy Shop. They have a large variety of hardware and fast service.

With the zipper extending beyond the split zipper panels, the bag has a wide opening for easy access to whatever is at the bottom of the bag.

Even with soft sides, the two-inch square bottom allows this bag to stand.
Well, that's it! Although this was a lot of information, if you are new to bag making, you will need more help to get started than I have provided here. Many online tutorials provide free PDF format patterns for you to follow. Try following the pattern as written for the first few bags. If you have questions for which you cannot find answers, or need a good beginning pattern/tutorial, send me a note. I have many more favorites!
Thank you for visiting. I hope you return again soon!